
This blog post was authored by Veronica Valeros on December 8, 2022
In this blog, we will describe how to install h0neytr4p [1] honeypot in a cloud server instance. This blog is divided into three parts: (i) how to create a new Digital Ocean instance, (ii) how to install h0neytr4p on it, and (iii) a brief walkthrough of some of the data captured by h0neytr4p.
Creating a new Digital Ocean Droplet
On this occasion, we chose the cloud provider DigitalOcean [2], which offers a variety of cloud instances or droplets in eight different regions. We love Digital Ocean, and it’s one of the most affordable and reliable hosting providers in our experience.
Step one is to log in or create a new account in Digital Ocean. If you use our [referral code], you will be supporting our research, and we appreciate it very much!
Step two is to create a new droplet. A droplet is how Digital Ocean refers to a new cloud server:

Step 2: Select the option to create a new droplet
Step three is to select the base image that will be used to create this new cloud server. This time we will use as a base an Ubuntu image, specifically Ubuntu 22.10 x64.
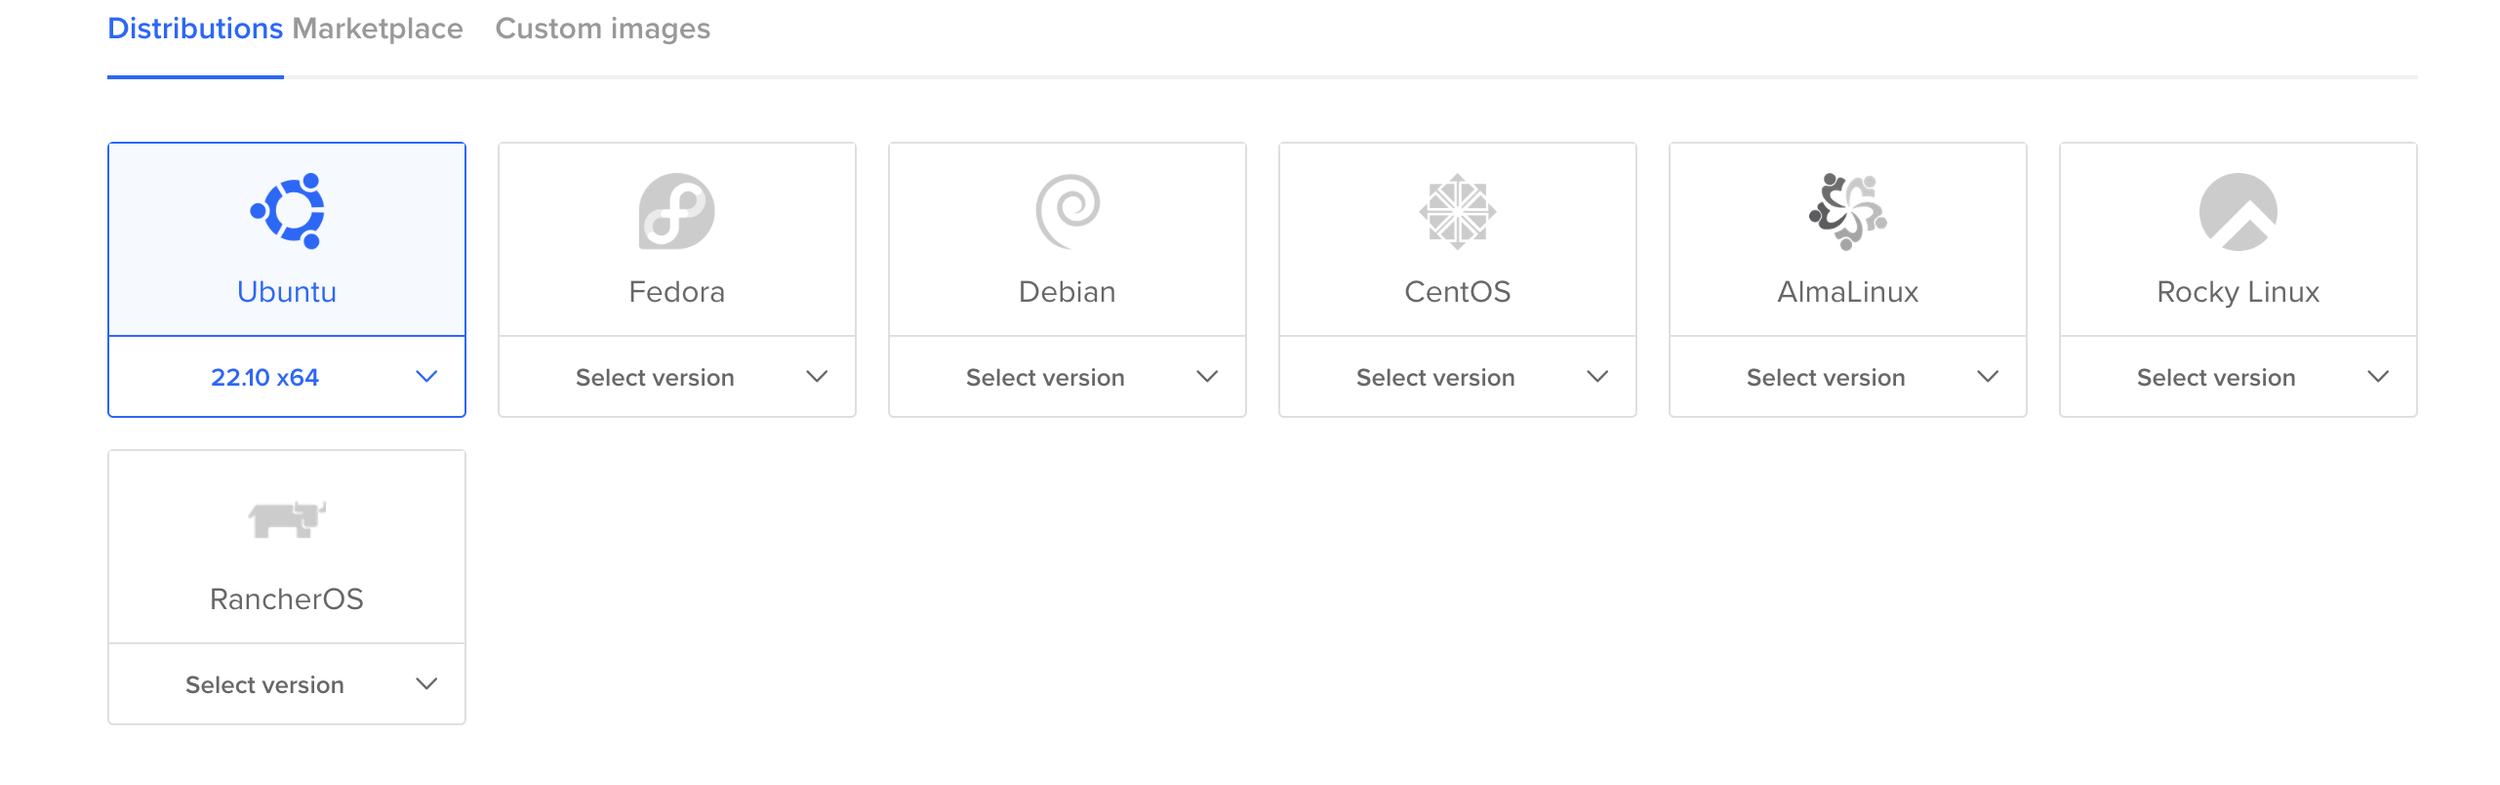
Step 3: Selecting the base image for the honeypot
Step four is to select the plan and the specs of our new server. For this honeypot, we will choose the most basic configuration: shared CPU, 512MB RAM, 1 CPU, 10GB storage and 100 GB of data transfer. This is a simple setup for testing things out; if you are deploying this honeypot for long term data capture, we recommend picking better specs on the server and increasing the storage.

Step 4: Selecting the server specs (memory, CPU, storage, etc)
Step five is to select the region of the server. This will depend on where you are located and the reason behind running the honeypot in the first place. If it is just for fun, we recommend selecting the country closer to home; this will ensure your connection to the server will be the fastest.

Step 5: Selecting the region of the cloud server
Step six is to select a form of authentication. There are two options, adding an SSH Key or a password. In this case, we will write down a long and secure password (it can be reset later from the DigitalOcean web interface).

Step 6: Select the authentication method: SSH Key or Password.
Step seven is where we choose how many droplets or instances we are going to create, and choose a hostname for our droplet.

Step 7: Select the number of droplets to create and a hostname for the droplet.
Once our configurations are ready, we click on Create Droplet and wait.

Step 8: Select create droplet to start instantiating the new cloud server
Once the droplet is created, you should see it listed in your project or droplets section. Copy the IP address of the droplet and log-in using SSH: ssh root@xxx.xxx.xxx.xxx

Step 9: Login to the newly created cloud server using SSH using the information provided in the previous steps and the assigned IP address visible from the account dashboard.
If everything went well, you logged in to your new server, and you are ready to install h0neytr4p!

Step 10: Successful login into the new cloud server
Installing h0neytr4p: the “blue team friendly” honeypot
h0neytr4p is a honeypot written in GO created around 2021 by Subhash Popuri and Aakash Madaan [1].
INSTALLING DEPENDENCIES
There are a few dependencies we need to install in the system before being able to compile and run h0neytr4p. This is a fresh Ubuntu installation, so we need to start by updating the package sources. h0neytr4p is written in GO, so we need to install GO. The following commands should install all it is needed in this step:
apt updateapt install -y golang-go tree If everything went well, you should see ‘go1.19’ in the output of ‘go version’:

Running h0neytr4p
We are ready to clone the h0neytr4p Git repository [1]:
git clone https://github.com/pbssubhash/h0neytr4p.gitBUILDING h0neytr4p
Now that we have h0neytr4p’s code, it is time to build and run it! Following the guide from h0neytr4p’s repository [1], we first build it:
cd h0neytr4pgo build main.goTo run h0neytr4p, simply run the following command (from /root/h0neytr4p), and you should be able to see the honeypot help section:
./main -h
Checking h0neytr4p Traps
h0neytr4p comes with some useful traps by default. The traps are located in the traps directory. Below you can see some of the traps included in this version:

Every trap is configured through a JSON file, so you can see how easy it is to add new ones. Here are some of the traps included in the default_creds directory:

Running h0neytr4p
Now that we know there are some initial traps already defined, we can prepare to run h0neytr4p. The first thing we will do is create some output directories to store the logs and the output files of h0neytr4p:
mkdir logs/ output/Now we will run h0neytr4p indicating where to find the traps, the logs, and the output directory we just created:

Congratulations! You have h0neytr4p running!

h0neytr4p Data
In the h0neytr4p logs, you can find key information about the attacks to the trap, such as source IP, User Agent, timestamp, path requested, and status about the trap behavior (trapped/not trapped), as can be seen below:

In the h0neytr4p output, there is information about the trapped sessions, such as source IP, User Agent, which trap was hit, a risk rating, and references. Unfortunately, in the time we have run the honeypot so far, we did not get any trapped attackers yet.

2022/12/19 Update: after some weeks of running h0neytr4p, here are some better output logs.

Conclusion
h0neytr4p is very easy-to-install honeypot. It seems easy to understand, tweak and expand. The documentation and user guides seem nascent but quite understandable for such a young tool. Be sure to check it out, test it, and have fun!
References
[1] Popuri, S., & Madaan, A. h0neytr4p: Easy to configure Honeypot for Blue Team, https://github.com/pbssubhash/h0neytr4p . Accessed on 08/12/2022.
[2] Digital Ocean cloud provider,https://cloud.digitalocean.com/. Accessed on 08/12/2022.